Jenkins of Jenkinses: Our Continuous Integration System
Selectel offers a wide variety of services, and a number of different people work on each one: software has to be developed, code written, and the infrastructure managed. To simplify and speed up the development and implementation process, we decided to create our own “CI lab”. For continuous integration, we use Jenkins.
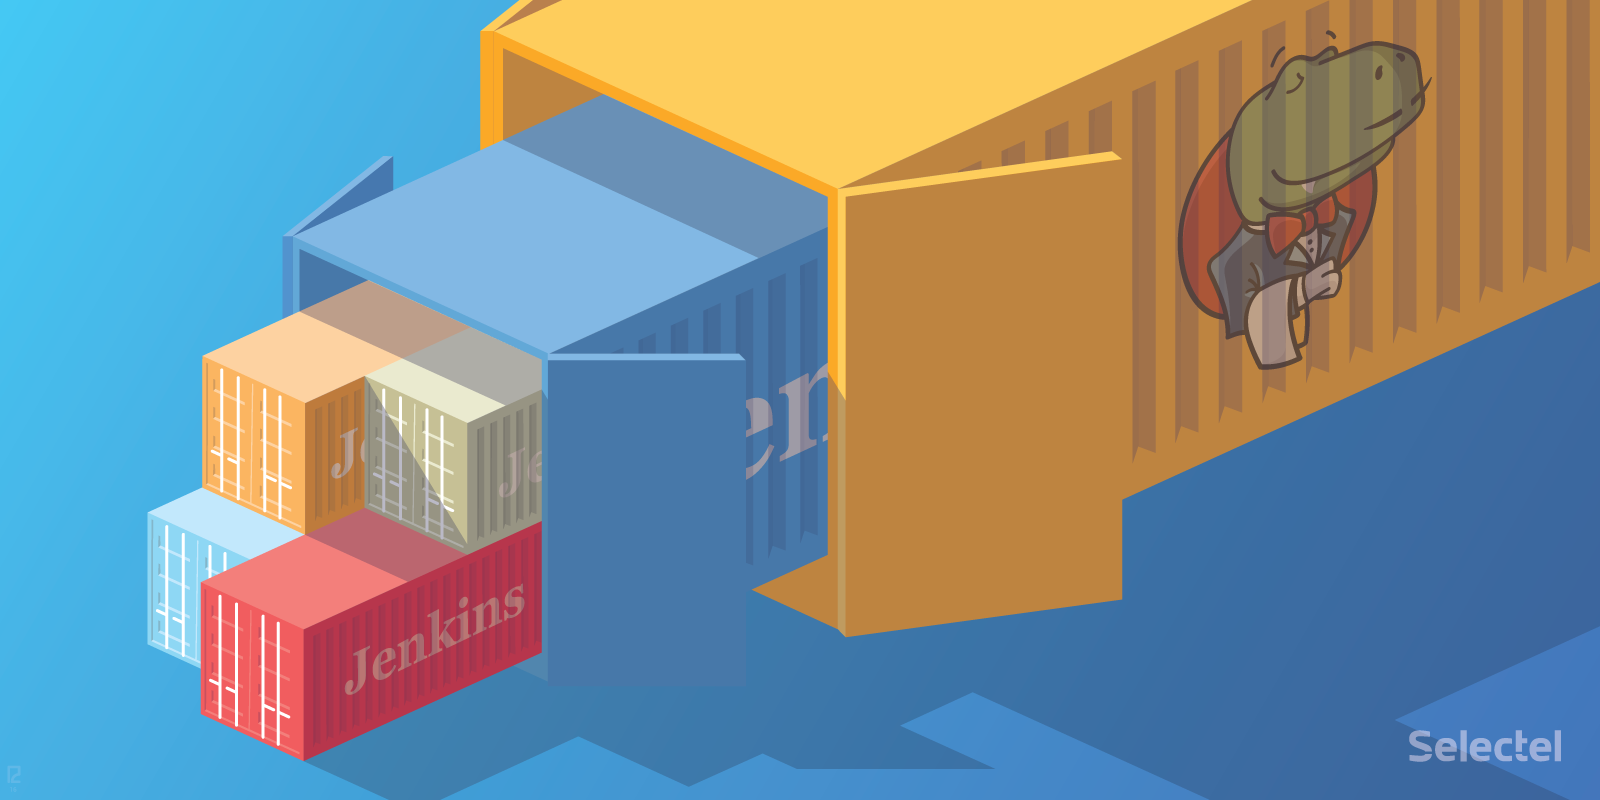
We constructed our project architecture in the following way: each department gets its own Jenkins instance. These are all run under a primary Jenkins, where project managers can independently recreate Jenkins instances. The name for this architecture came to us immediately: Jenkins of Jenkinses.

This approach has let us not only isolate Jenkins nodes from package conflicts in the system, but also avoid job mix-ups between departments and complicated access settings. Additionally, we’ve made it possible to quickly recreate Jenkins project nodes independent of the internal services department. This is the optimal and simplest approach for departments and CI-host admins.
A machine was set up with Ubuntu 15.04 and updated to 16.04. LXC containers were then created and loaded with Jenkins. Nginx was installed on the actual host to grant access to containers over the web and the primary Jenkins, which manages the job updates in lower Jenkins instances and can recreate the containers they’re launched in.
For the initial configuration and subsequent management, we use Ansible and Groovy, for which Jenkins offers native support. Through Ansible, we can manage containers, install and configure additional packages for each container, install Jenkins, create specific environments within servers, and deploy Groovy scripts.
Jenkins is initially configured through Groovy. With Groovy, we set up LDAP authorization and project matrix-based security. Here, we add a list of groups and users with permission to perform operations in that particular Jenkins. We also configure shell execution from /bin/bash, instead of the default /bin/sh, and install our necessary plugins. Several of these also have to be configured, such as the Jenkins Docker Plugin and its connection to the local Docker Registry.
Jenkins Jobs
For managing jobs, we use the Jenkins Job Builder (JJB), which has been developed under the OpenStack project. This is an incredibly easy-to-use tool with a low learning curve since its configuration is written entirely in YAML. Jobs are loaded by converting YAML to Jenkins API requests.
Like any project, there are some drawbacks. The Jenkins Job Builder parser requires the YAML format, which jobs are described in, follow a strict structure; any deviation in spacing or indentation will result in an error. While using Jenkins Job Builder, we also found that it doesn’t support some of the plugins we need, and it doesn’t look like they’ll be supported any time soon.
Let’s take a closer look at how jobs are launched. In the main Jenkins instance, two functions can be performed for every project: update Jenkins jobs and recreate the Jenkins container.
Updates are made by launching the job through a webhook, which is run after a commit is made to the git repository where the Jenkins Job Builder files are saved. The actual job uses a local ini file which contains a token, username, Jenkins address, and update key.

The Job for reinstalling containers lets us completely recreate a Jenkins instance for a department if anything malfunctions. Updates are considered upstream jobs.
In each department’s Jenkins instance, everything is reviewed by administrators and project managers. We should take a moment to look at how jobs are executed. Since the department has its own node, it can install the packages and set up the environment it wants, as well as install whatever it needs for the build. A part of the projects uses the Jenkins master->slave model to execute jobs in Docker, where npm packages are collected. For now, Docker doesn’t have much else use, but that’s only for now.
Managing Access and Permissions

As we mentioned above, we configured Jenkins to use LDAP authorization and project matrix-based security with access permissions. Jenkins instances can access staging and production servers as unique users with passwords and using limited sudo commands. For managing keys, we use Ansible, which contains a list of servers for each Jenkins instance that is open for connections.
Project managers can see and launch any job as well as see the two jobs for their project in the primary Jenkins. Standard administrators/maintainers can see all of the jobs in their Jenkins, but cannot deploy production. From the primary Jenkins, they can only relaunch jobs in their projects’ Jenkins. If anyone ever needs permission, users can be added to a project with the rights to perform the necessary actions. For example, if a front-end programmer has to see a part of a job with builds in other projects, then he is given permission to read and write to these jobs.
Of course, these strict restrictions would be possible if we managed the jobs of every department. Thus, the job of assigning stricter restrictions is left to the maintainers.
Conclusion
In summary, the architecture we’ve described has proven to be a successful solution for launching and implementing CI/CD for all of our projects. This is because its design has allowed us to avoid problems of isolation and inter-departmental jobs. It also enables us to not only deploy new Jenkins instances for projects, but manage them.
Since implementing this system, we’ve seen a few problems that we’d like to solve in the next version. These include virtual server failure, the inability to switch to fully containerized build environments/standing deployment, and the inability to use or combine Jenkins Job Builder with the Job DSL Plugin or Jenkins File, etc.
If you have any questions or comments, we’d be happy to answer you in the comments below.